Adding Marketing Campaign
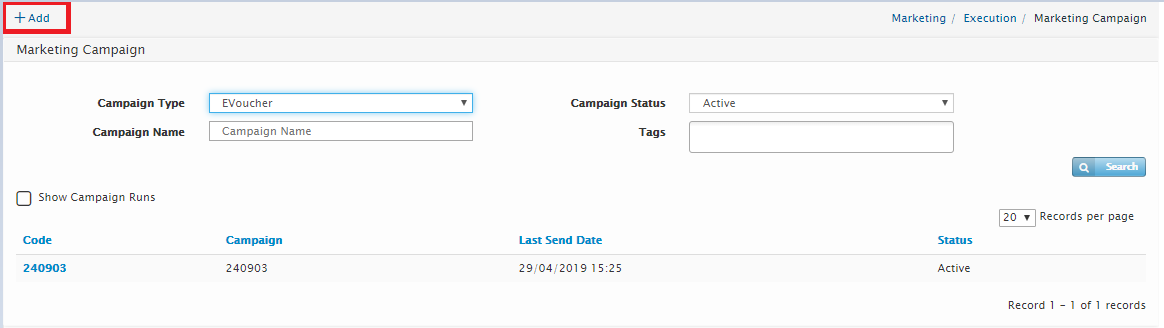
To create new Marketing Campaign, click “Add” button located on the right-hand side of the page.
The Create Campaign page will be displayed as shown below.
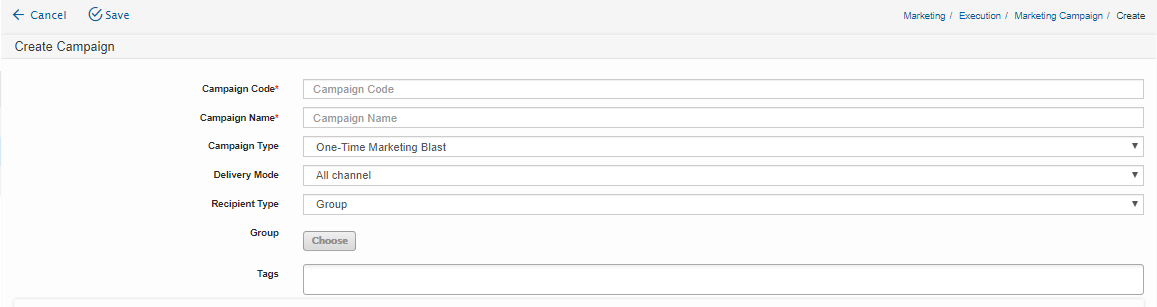
Users will need to enter the following details:
Field Name |
Mandatory |
Length |
Remarks |
Campaign Code |
Yes |
50 chars |
Enter Campaign Code (alphanumeric) |
Campaign Name |
Yes |
49 chars |
Enter Campaign Name |
Yes |
N/A |
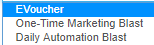
Select from the following options:
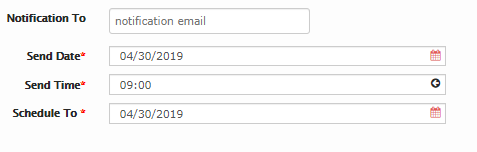
One-Time Marketing Blast : the Send date and time should be indicated.(Campaign will be run once) Daily Automation Blast : the Scheduled From and To dates as well as the time should be indicated. (Campagin will be run daily basis) Evoucher : Schedule From and to dates as wess as time should be indicate
Note: The “Notification To” is the email address where the system will send the generated report indicating how many campaigns where sent. |
|
Delivery Mode |
Yes |
N/A |
|
Recipient Type |
Yes |
N/A |
Recipient can be Individual Members or Member Group |
Member/Group |
Yes |
N/A |
Select the a Member or Distribution list |
Tag |
No |
N/A |
Prefered name for Campaign so later one can be search Campaigns in more easy way |
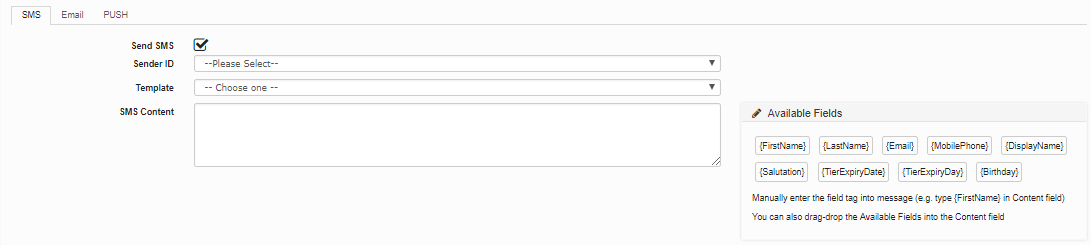
- SMS Campaign - Click SMS tab and tick Send SMS checkbox. Then, provide all the information needed.
Field Name |
Mandatory |
Length |
Remarks |
Sender ID |
Yes |
Click the drop-down list and select the appropriate Sender ID from the options given. |
|
Template |
No |
N/A |
To select one of active templated. |
SMS Content |
Yes |
700 Char |
Enter SMS content |
Note: Available Field (known as variable tags) are used to show the information of the members when sending a campaign.
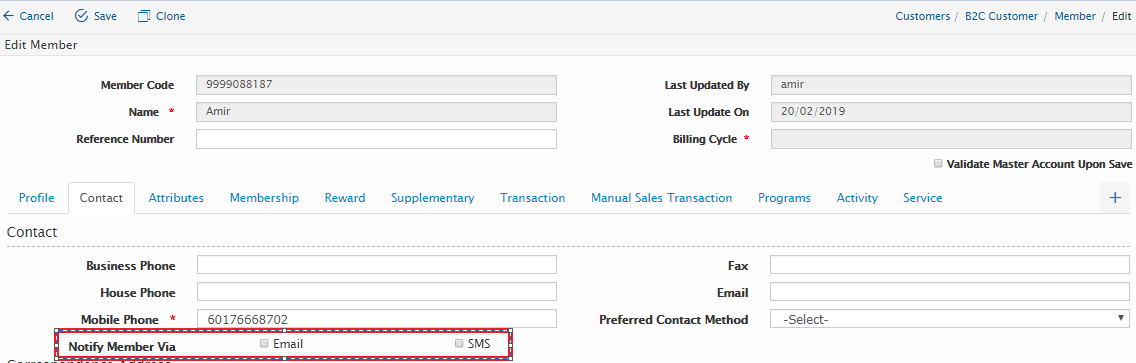
Please note that the information getting from the information provided during creation/update of the member in Dexperien. For reference, please see the figure below – Add Member page.
|

SN |
Tag |
Description |
1 |
First Name |
It is the name of the member. |
2 |
Last Name |
It is Last Name of the member. |
3 |
It is the email of the member. |
|
4 |
Mobile |
It is Mobile Phone of the member. |
5 |
Display Name |
It is display name of the member. |
6 |
Salutation |
It is Prefix of the member. |
7 |
Tier Expiry Date |
It is the expiry date of the membership. The member should upgrade before the expiry date or else the membership will automatically be downgraded after expiry. |
8 |
Tier Expiry Day |
It indicates the number of days remain until downgrade. Example: TierExpiryDate:14/1/2020 12:00:00 AM TierExpiryDay:335 |
9 |
Birthday |
It is birthday of the member. |
Important links to remember:
WebGUID – is the link that can be used by the recipient to open a new browser and view the Content on Web browser.
Unsubscribe – is the link that can be used by the member to unsubscribe from receiving future Email.
When a member clicks on the Unsubscribe link, a new browser window will open and will ask for confirmation.
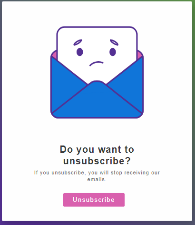
After confirmation, you will notice that the check boxes under “Notify Member Via” will no longer have the check mark.
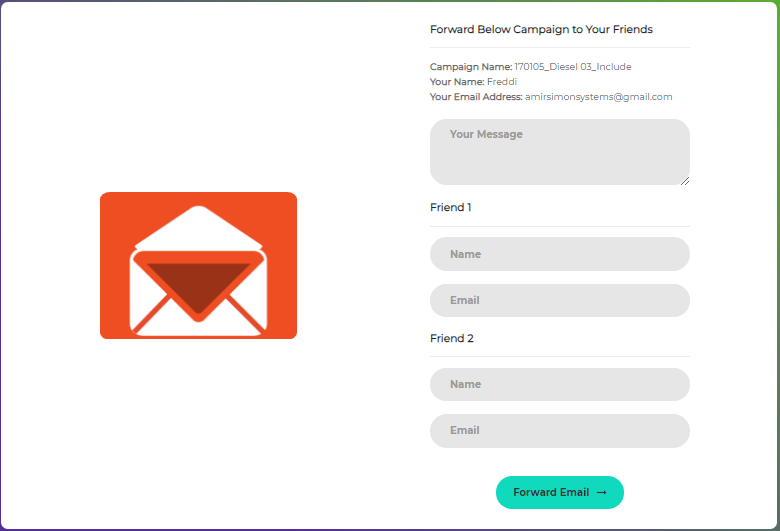
Forward – is the link that can be used by the member if he/she likes to share the campaign to other people.
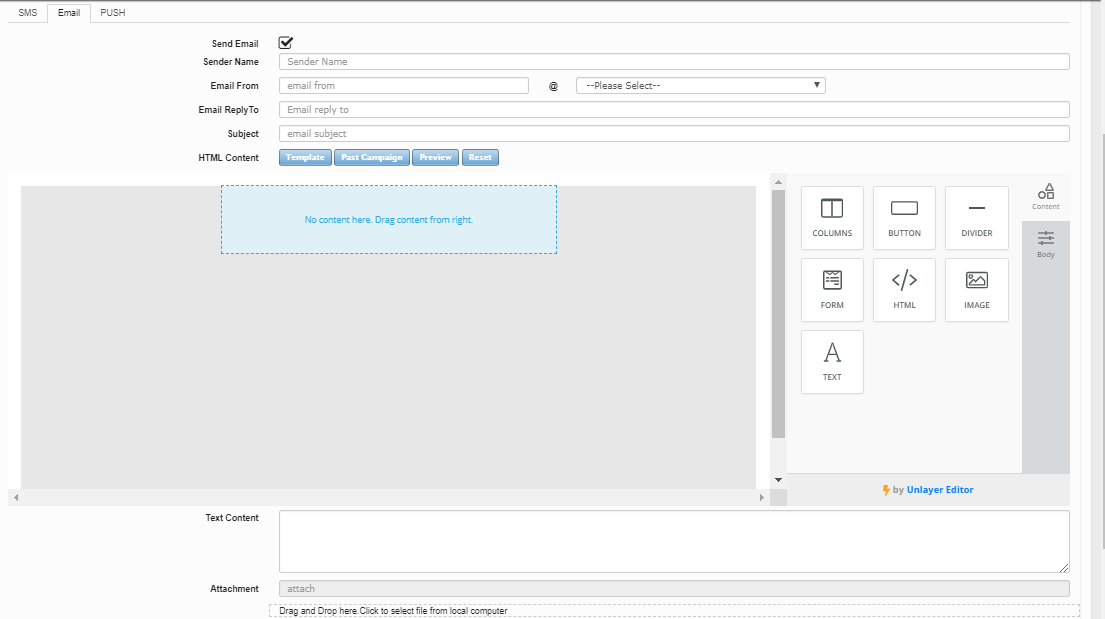
- Email Campaign- Click Email tab and tick Send Email checkbox. Then, provide all the information needed.
Field Name |
Mandatory |
Length |
Remarks |
Sender Name |
No |
N/A |
Enter the name of the sender |
Email From |
Yes |
N/A |
Enter Email From |
Email Reply To |
Yes |
N/A |
Enter Email Reply To and choose the appropriate domain from the drop-down box as shown in the figure.
|
Subject |
Yes |
N/A |
Enter the Subject of the Email |
HTML Content |
Yes |
N/A |
User has the option to choose from the following options: a. Template – you have the option to use the template feature in creating your email campaign. b. Past Campaign – you may use the past campaigns and modify it accordingly. c. Preview – you may click to preview the campaign in browser anytime. (Note: The Preview window may be blocked if you have a pop-up blocker in your browser). d. Reset – when you click on reset, it will revert to the last saved content. |
Text Content |
No |
N/A |
Enter Text Content of the Email |
Attachment |
No |
N/A |
Upload an attachment if applicable |
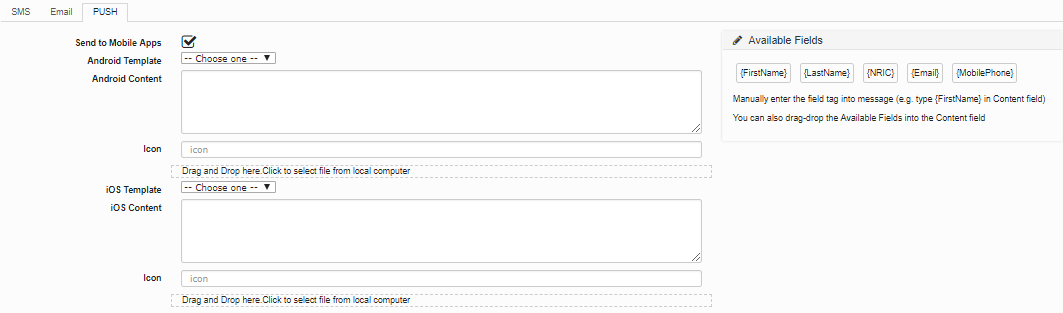
- Push - Click Push tab and tick Send Mobile Apps checkbox. Then, provide all the information needed.
Field Name |
Mandatory |
Length |
Remarks |
Android Template |
No |
N/A |
Select the pre-created template from the drop-down list |
Android Content |
Yes |
N/A |
Enter the content |
Icon |
Yes |
N/A |
|
Drag and Drop here to select file from local computer |
No |
N/A |
|
iOS Template |
No |
N/A |
Select the pre-created template from the drop-down list |
iOS Content |
Yes |
N/A |
Enter the content |
Icon |
No |
N/A |
|
Drag and Drop here to select file from local computer |
No |
N/A |
After creating the Marketing Campaign, click on the “Save” button to save the details or just click “Cancel” button to cancel the action.
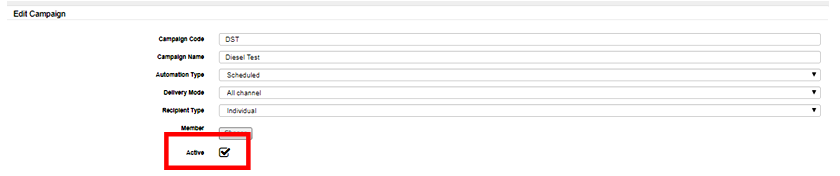
Once the Marketing Campaign has been created, the user may “Activate” it.
- View the list of Marketing Campaign and choose which campaign you want to activate.
- Click the Code to open it.
- Tick the “Active” checkbox then click on “Save” button to save the information.
Created with the Personal Edition of HelpNDoc: Write eBooks for the Kindle