Editing a Master Account
Users are able to edit a Master account from this page. To edit a Master Account, select the desired Master Account to be modified then click on the Reference No. in the Master Account Listing page. The Edit Master Account page will be displayed as shown below.
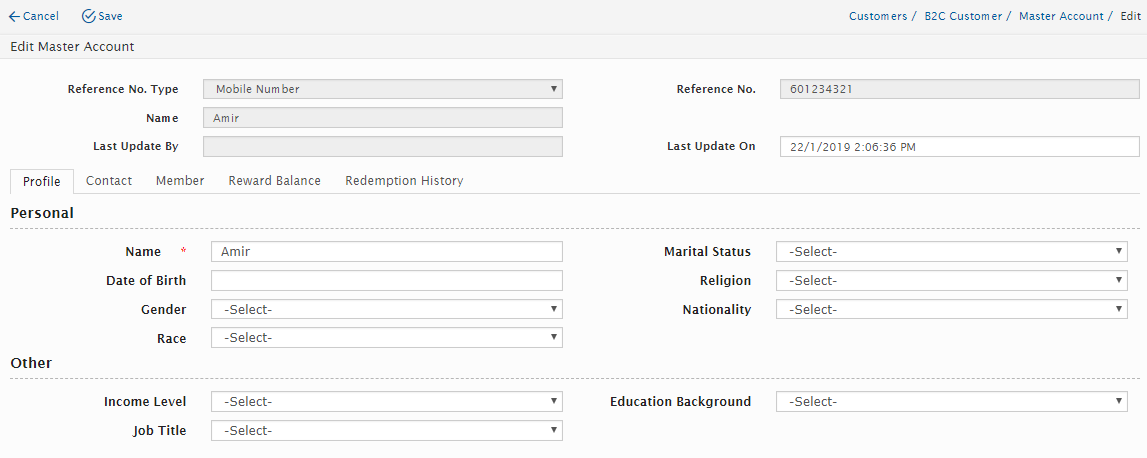
The Edit Master account screen is divided into 5 different namely: Profile, Contact, Member, Reward Balance and Redemption History.
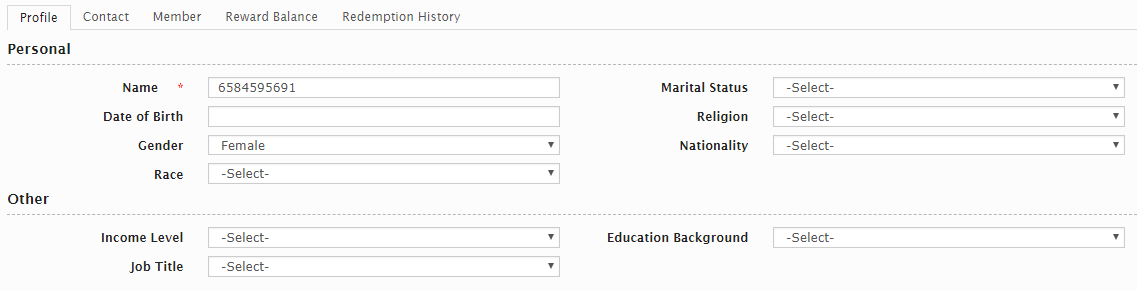
Profile Tab
Field Name |
Mandatory |
Remarks |
Name |
Yes |
|
Marital Status |
No |
Users can select from these two options
|
Date of birth |
No |
Users can select from the calendar view |
Religion |
No |
Users can select from the options provided in the drop-down box. |
Gender |
No |
Users can select from the options provided in the drop-down box. |
Nationality |
No |
Users can select from the options provided in the drop-down box. |
Race |
No |
Users can select from the options provided in the drop-down box. |
Income Level |
No |
Users can select from the options provided in the drop-down box. |
Education Background |
No |
Users can select from the options provided in the drop-down box. |
Job Title |
No |
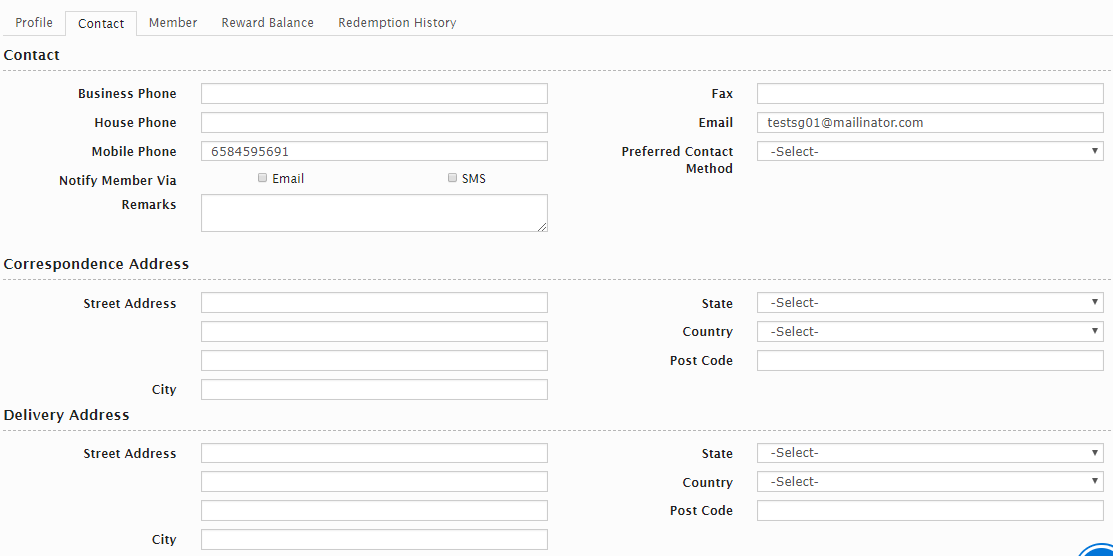
Contact Tab
Field Name |
Mandatory |
Remarks |
Business Phone |
No |
|
Fax |
No |
|
House Phone |
No |
|
No |
||
Mobile Phone |
Yes |
e.g.: 628xxxxxxxx |
Preferred Contact Method |
No |
Users can select from the options provided in the drop-down box. |
Notify member by |
No |
Users can select either by Email or SMS |
Remarks |
No |
|
Street address |
No |
|
State |
No |
Users can select from the options provided in the drop-down box. |
Country |
No |
Users can select from the options provided in the drop-down box. |
Postcode |
No |
|
City |
No |
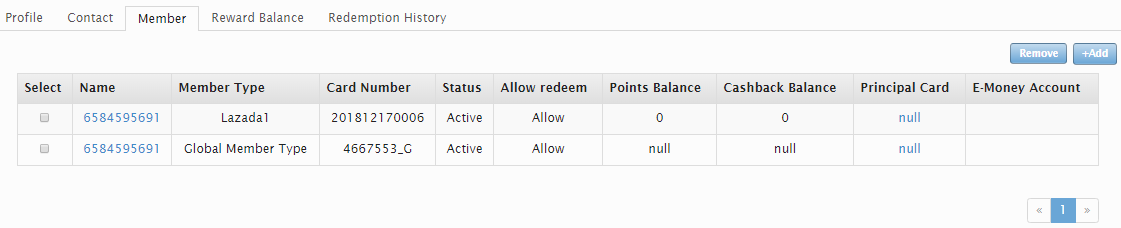
Member Tab
At the Member Tab, users can view all the cards and its member details under this Master Account. The users can also add or Remove cards under this page. To view the Member details of each card, click on the Name of the Member and it will redirect to Individual Member page.
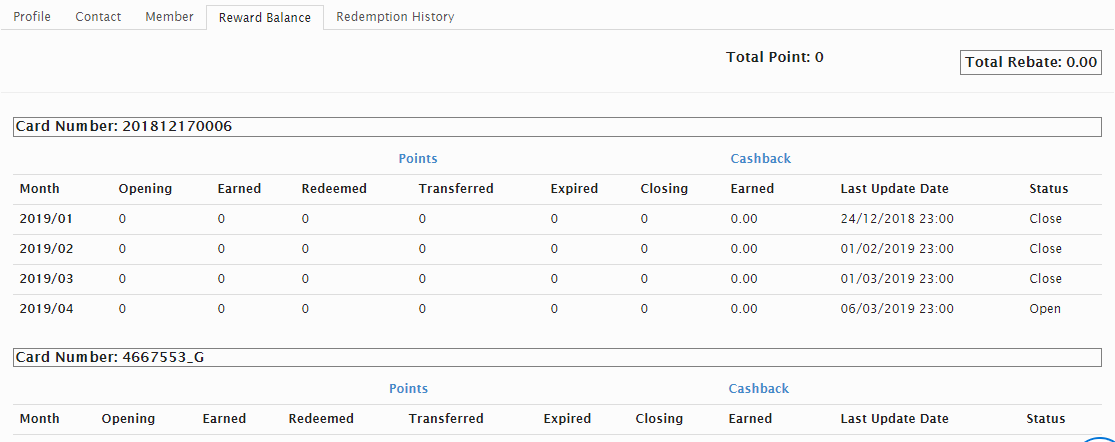
Reward Balance Tab
At the Reward Balance tab, users can view the reward balance points for each Member. The statement will be shown according to the billing cycle date.
Redemption History Tab
Redemption History tab shows the history of redemptions, it’s points, status and cash made by each card.

Non-Member
The Non-Member module allows user to view the Non-Member List in the system. 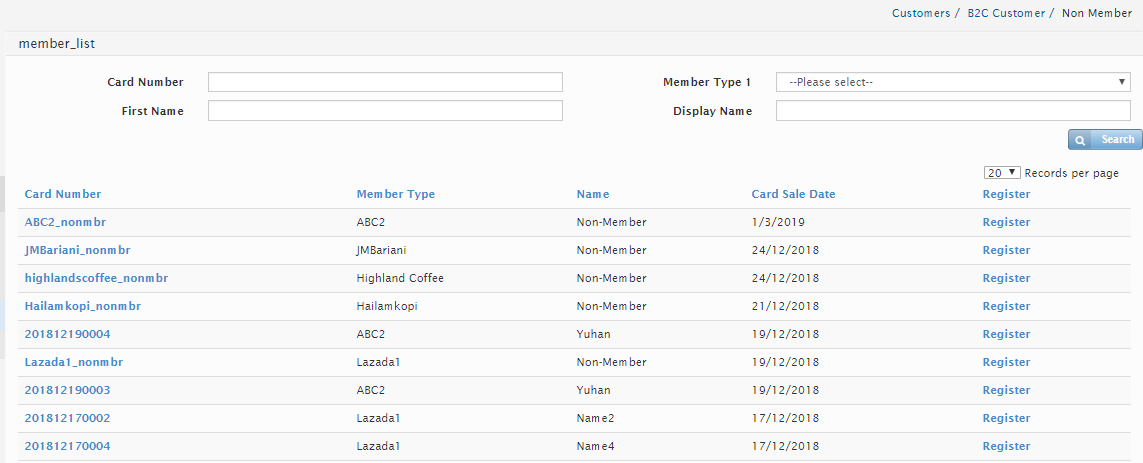
Also, the user has the option to register the card of a non-member and make a record. Click and open a non-member that you want to register. Then, click “Register” located at the top left-hand side of the page.
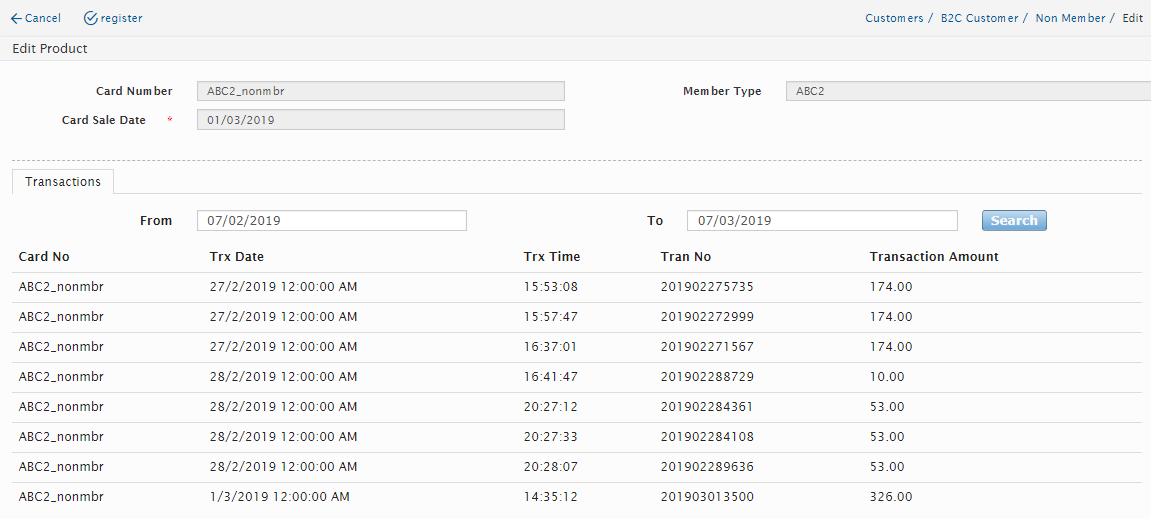
Enter all the information needed and click on Save to complete the process.

Upload Non-Member Card
The uploading of the Card information will be done using the new DExperien file format wherein the user is allowed to upload name, address, mobile phone, email and etc information. See below format for reference.
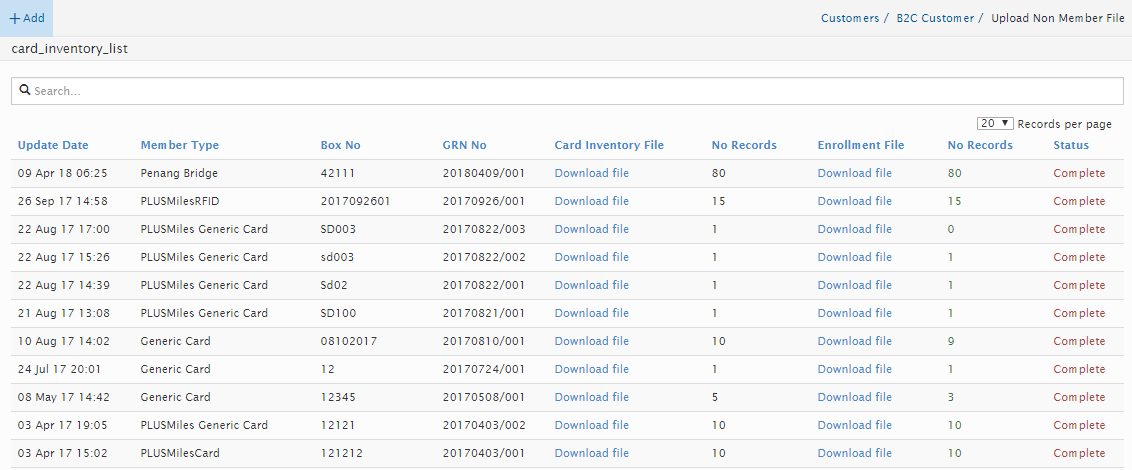

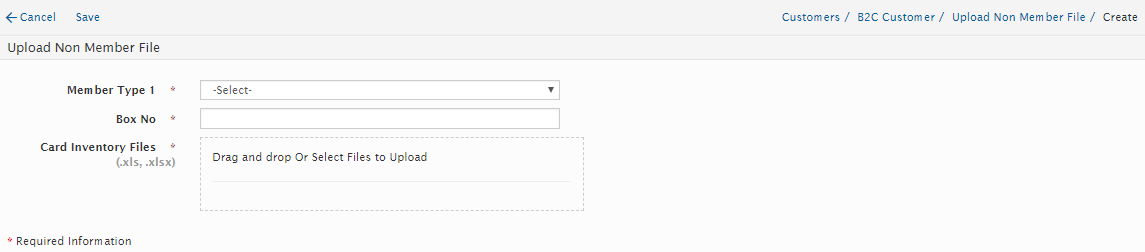
The user allows uploading of non-member information via the Upload Non-Member module. Go to B2C Customer>Upload Non-Member File and click on Add button located at the top left-hand part of the page.
The following fields must be entered:
Field Name |
Mandatory |
Remarks |
Member Type 1 |
Select the Member Type |
|
Box No |
|
Enter Box No/Ref. No |
Card Inventory Files |
Browse the file to upload |
Note: Ensure that “Pre-register as Non-Member” checkbox is ticked under Member Type before uploading the Non-Member file. To ticked the Pre-register as Non-Member checkbox, go to Membership > Member Type.
Once all the mandatory fields are entered, the user may now click on the “Save” button to save the information or click “Cancel” button to cancel the action.
As soon as the cards are uploaded into the system, it will be tagged to a Non-Member Master Account.
Created with the Personal Edition of HelpNDoc: Easily create HTML Help documents